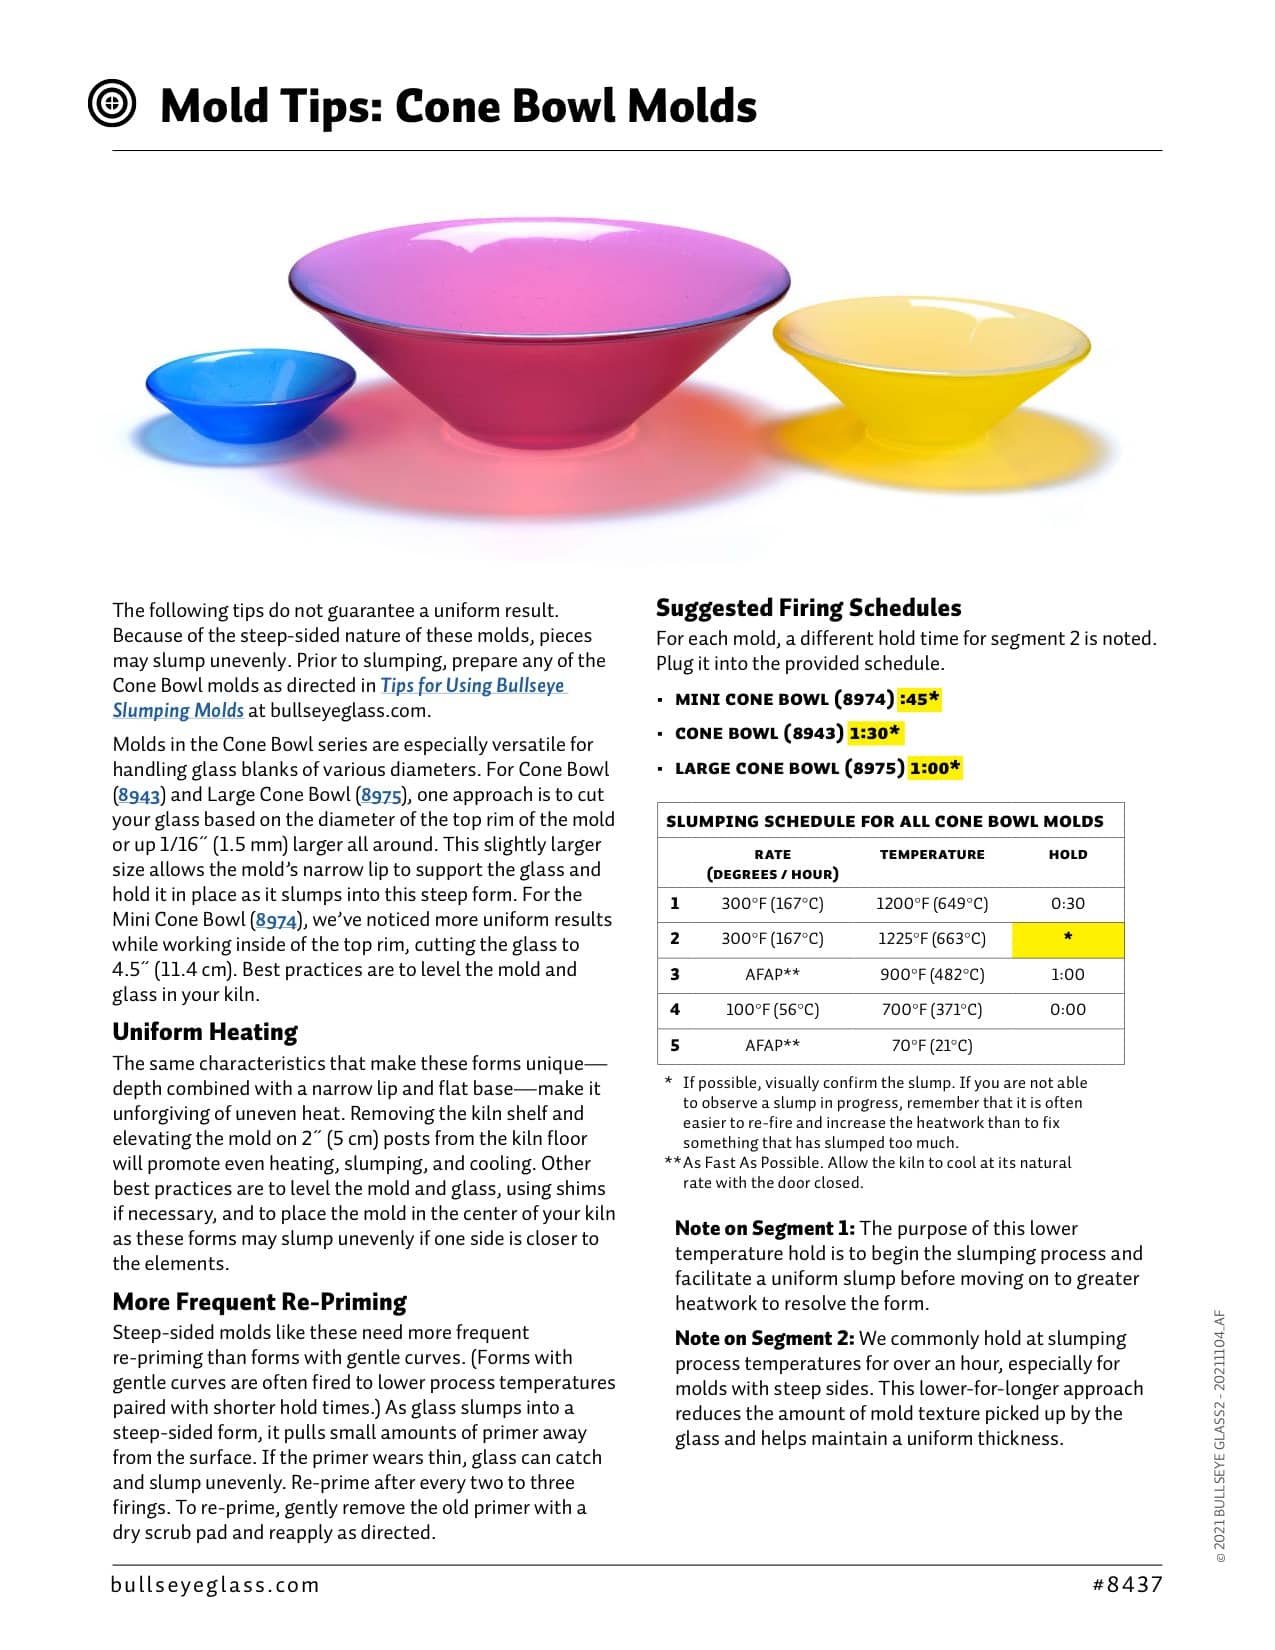
The following tips do not guarantee a uniform result. Because of the steep-sided nature of these molds, pieces may slump unevenly. Prior to slumping, prepare any of the Cone Bowl molds as directed in Tips for Using Bullseye Slumping Molds at bullseyeglass.com.
Molds in the Cone Bowl series are especially versatile for handling glass blanks of various diameters. For Cone Bowl (8943) and Large Cone Bowl (8975), one approach is to cut your glass based on the diameter of the top rim of the mold or up 1/16˝ (1.5 mm) larger all around. This slightly larger size allows the mold’s narrow lip to support the glass and hold it in place as it slumps into this steep form. For the Mini Cone Bowl (8974), we’ve noticed more uniform results while working inside of the top rim, cutting the glass to 4.5˝ (11.4 cm). Best practices are to level the mold and glass in your kiln.
Uniform Heating
The same characteristics that make these forms unique— depth combined with a narrow lip and flat base—make it unforgiving of uneven heat. Elevating the mold on 2˝ (5 cm) posts will promote even heating, slumping, and cooling. Best practices are to level the mold and glass in your kiln. Also, if possible, fire the mold in the center of your kiln as these forms may slump unevenly if one side is closer to the elements.
More Frequent Re-Priming
Steep-sided molds like these need more frequent re-priming than forms with gentle curves. (Forms with gentle curves are often fired to lower process temperatures paired with shorter hold times.) As glass slumps into a steep-sided form, it pulls small amounts of primer away from the surface. If the primer wears thin, glass can catch and slump unevenly. Re-prime after every two to three firings. To re-prime, gently remove the old primer with a dry scrub pad and reapply as directed.
Download the full article…