Bullseye slumping molds are slipcast from a specially formulated clay body. They have an exceptionally smooth surface and accept kilnwash uniformly. If prepared with Bullseye Shelf Primer and handled properly, they will not crack under repeated use. Some artists report using their molds for months and even years without re-priming. Note: Mold measurements listed in our catalog and online store represent the outermost possible dimensions of the mold (the base). This is to help you determine whether a given mold will fit in your kiln. Since the molds are handmade, individual molds will vary in size. That is why you should never cut glass to fit until you have measured your actual mold.
Preparing a Bullseye Mold
A slumping mold must be prepared with a separator to prevent the glass from sticking to it during the firing process. When preparing a ceramic mold with Bullseye Shelf Primer, mix five parts water to one part dry powder. Wear a respirator to avoid inhaling dust. Apply five layers of primer, each from different directions (ex: down, right, up, left, across), coating surfaces that will come in contact with glass. Use a natural-hair, fine-bristled brush, such as a hake brush. To prevent breakage, kiln-dry the freshly prepared mold more slowly than you would a kilnshelf. Fire at 500°F (278°C) per hour to 500°F (260°C), with a 20-minute hold. Clear the vent holes of primer and carefully remove any loose brush hairs prior to slumping. Store and handle primed molds with care to keep their prepared surfaces in good condition. A prepared ceramic mold will serve for many firings, provided the primer remains free of chips and scratches, which could cause the glass to stick. Mold profiles with gentle curves fired to low process temperatures may not need to be re-prepared for 30 firings or more. Note: steep-sided molds and molds with recessed details need more frequent re-priming. As glass slumps into a steep-sided form, it pulls small amounts of primer away from the surface. If the primer wears thin, glass can catch and slump unevenly. Re-prime after every two to three firings. To re-prime, gently remove the old primer with a dry scrub pad and reapply as directed.
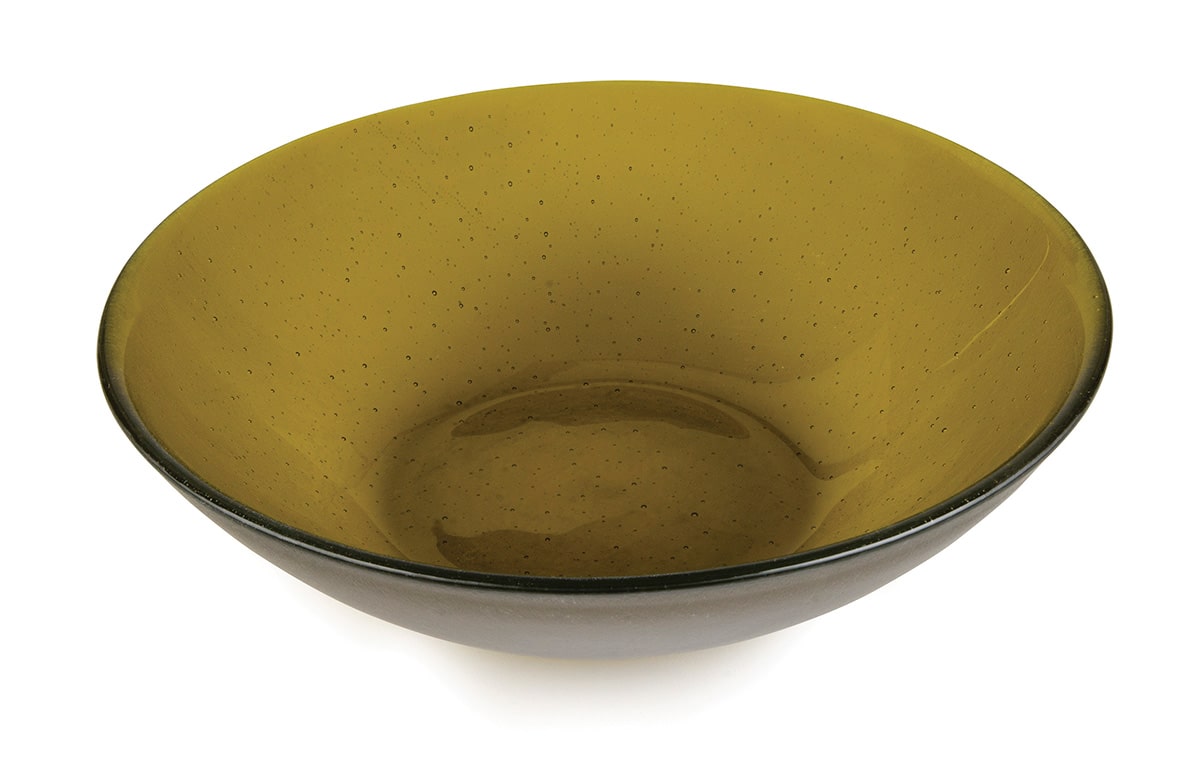
Slump Firing
The temperature and time it will take to successfully slump a piece depends on the profile and diameter of the mold, the depth of the slump, and the weight of the glass. See Mold Tips: Suggested Slumping Schedules, which covers our recommendations for all the slumping molds we carry. With any new mold, we suggest that you first fire a simple, inexpensive glass blank to confirm the correct cycle. The ideal position for the mold is in the center of the kiln and 2” or more away from the elements. (In a front-loading kiln, you may want to center the piece on the mold outside of the kiln in order to get a better view.) To promote better air and heat circulation, elevate molds from the floor of your kiln or kiln shelf. This also promotes more uniform heating and cooling for the glass. Before firing, verify that the mold and glass are level.
Additional tip: For easy identification, use a ceramic underglaze pencil to mark the style number on the side of the mold.