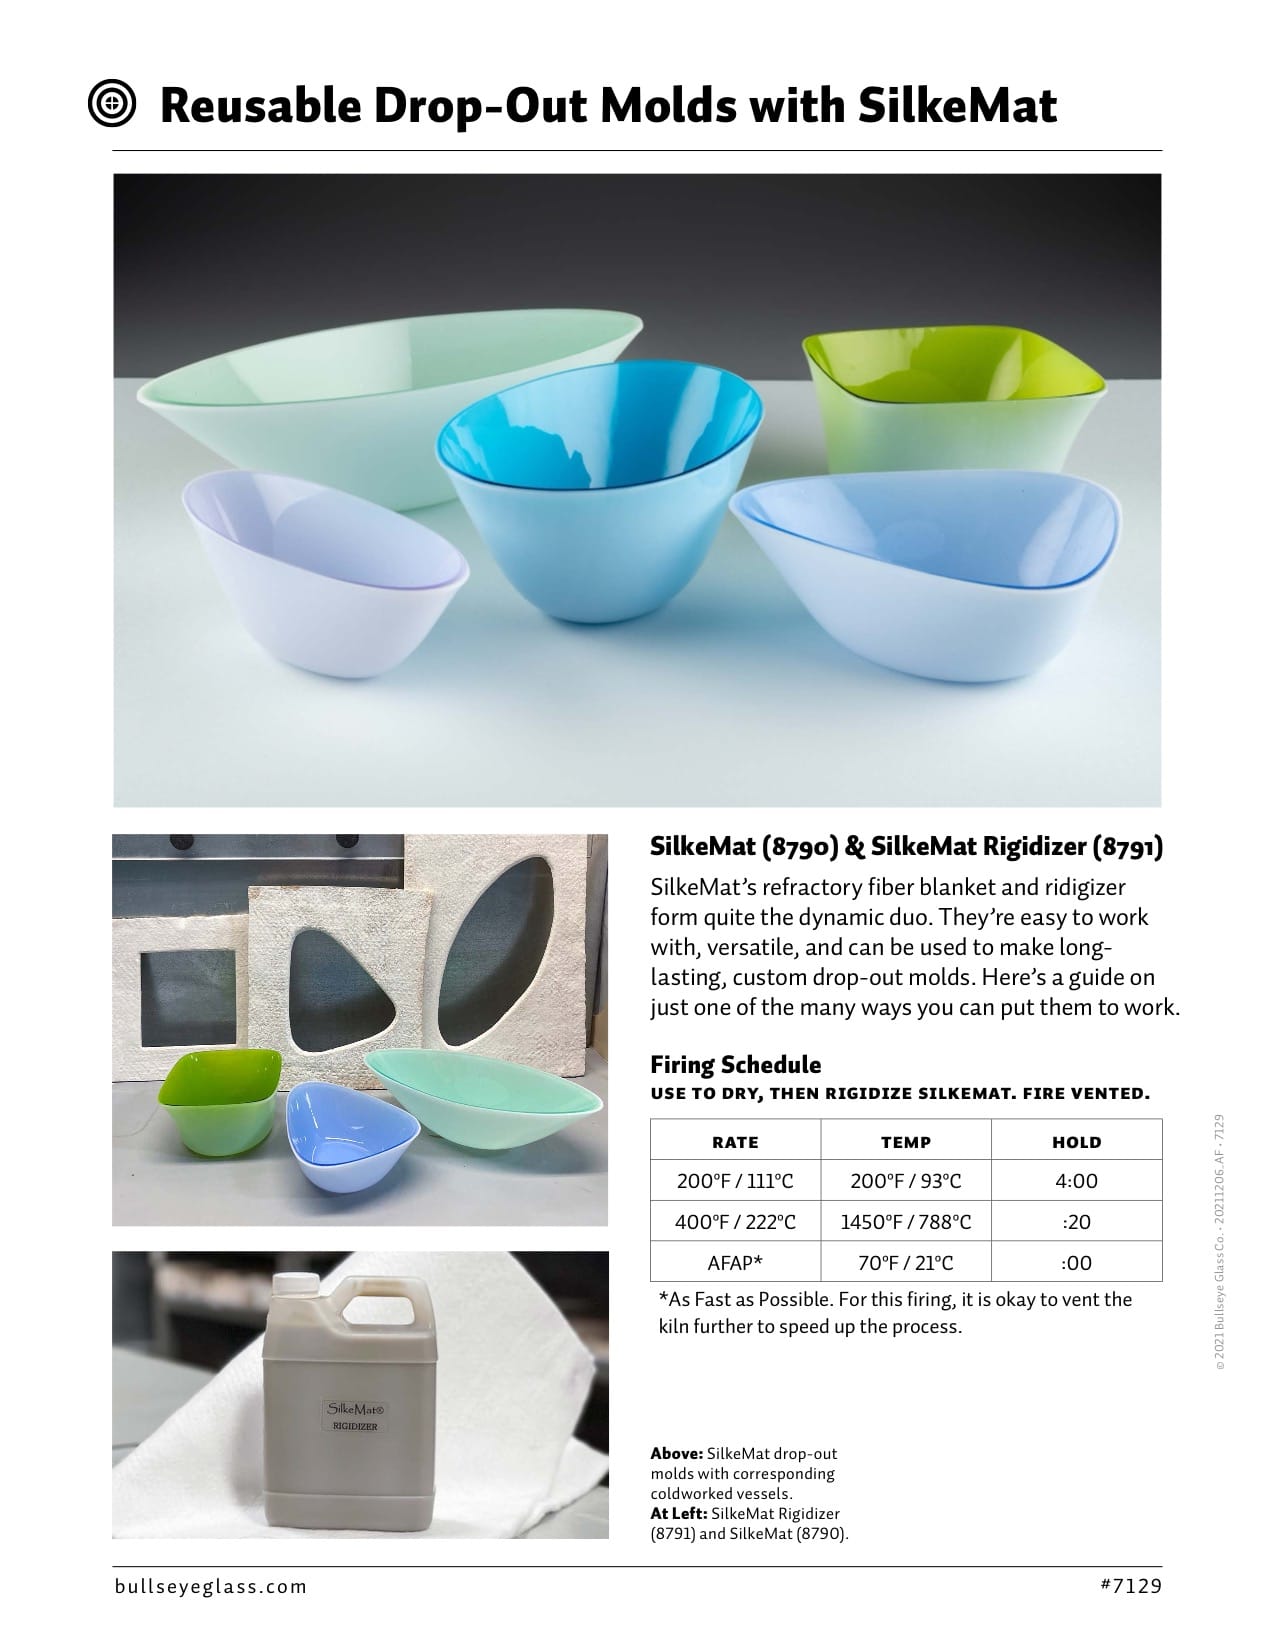
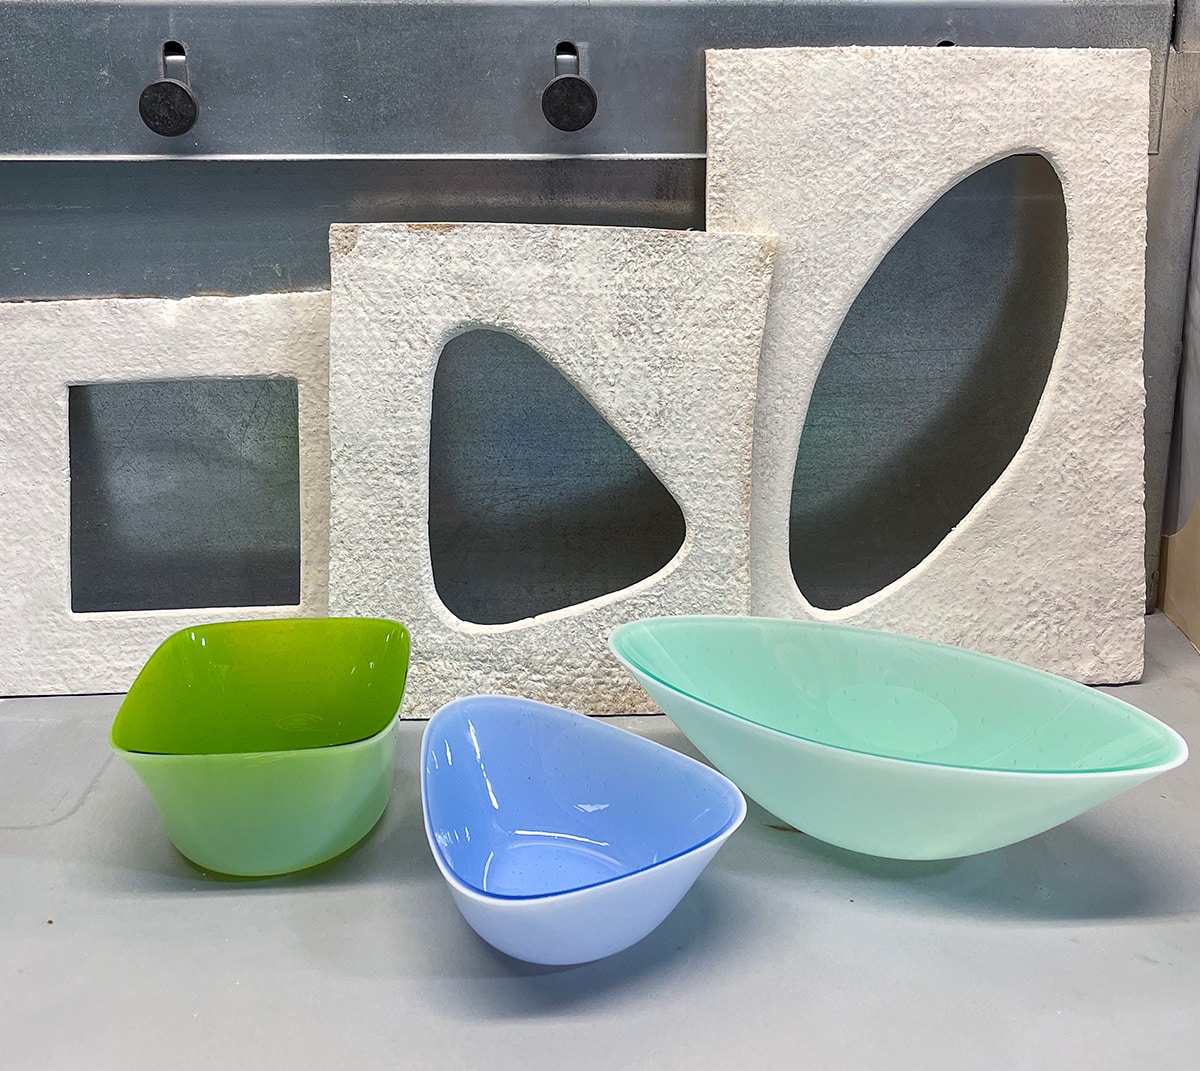
SilkeMat (008790) & SilkeMat Rigidizer (007792)
SilkeMat’s refractory fiber blanket and ridigizer form quite the dynamic duo. They’re easy to work with, versatile, and can be used to make longlasting, custom drop-out molds. Here’s a guide on just one of the many ways you can put them to work. Download the article for visual examples of each step and the appropriate firing schedule to prep your mold for use.
- CUTTING, PART 1: Using an X-ACTO knife, cut a piece of SilkeMat (008790) to match the outside dimensions of your mold design. Note: Because SilkeMat shrinks approximately 5% in the first firing, you’ll want to take that into consideration and oversize your piece.
- RIGIDIZING: Shake up the container of SilkeMat Rigidizer (007792). Working on a non-porous tray or work surface, apply rigidizer to one side of the SilkeMat, then to the other. An inexpensive chip brush works well. As a general guideline, 1.25 cup / 10 fluid ounces of rigidizer will cover a square foot of mold material generously—a bit less will be effective in this process. If you are letting the SilkeMat air-dry, flatten it out and leave it for 48 hours at room temperature. SilkeMat is easy to move when it is wet.
- FIRING: Fire the prepared SilkeMat using the schedule in this article. It may be fired either wet or air-dried. If firing wet SilkeMat, place fiber paper (of any thickness) on the kiln floor to act as a breathable barrier. Set the SilkeMat on the fiber and flatten it out. If firing air-dried SilkeMat, fiber paper is not needed, so fire directly on the floor of the kiln or on shelf posts. Note: Avoid firing on a kiln shelf at this stage to not contaminate or thermal shock your shelf.
- TIDYING: Once the kiln has cooled, take out the SilkeMat and remove any fiber paper that has stuck to it.
- CUTTING, PART 2: Draw or trace the inner edge of your mold design on the rigidized SilkeMat. Cut along your marking, using a standard X-ACTO knife. Remove the cut-out. When viewed as a cross section, the interior layer will not be rigidized. This is normal, as the fiber prevents the active ingredients of the rigidizer from reaching the center. In our experience, the mold functions well without further rigidizing.
- SANDING: Wearing a mask for protection from particulates, lightly sand the top and bottom edges of the mold opening until slightly rounded. Use 120 grit sandpaper or similar. Safely remove and dispose of excess dust from the mold and your work area.
- PRIMING: To keep your main primer supply clean, first stir and then decant some mixed primer for this purpose. Apply 5 layers of Bullseye shelf primer to the glass contact side of the mold and the inside rim. Then fire the mold (again, on the floor of the kiln or elevated on posts) as fast as possible to 500ºF / 260ºC for twenty minutes to dry. Priming is optional, but we’ve found it to be helpful and can hold up through multiple firings. Otherwise, traces of rigidized SilkeMat may stick to the glass in the slump firing, which could degrade the mold.
- USING YOUR NEW MOLD: Your mold is ready to use! Expect the texture of a SilkeMat drop-out mold to help keep the rim of glass in place and on the mold— provided the rim is wide enough. In the samples shown, no additional fiber paper was used to help keep the glass rim from slipping through. SilkeMat is a versatile product. This guide represents just one method for using it to make drop-out molds.
To explore further, visit silkemat.com.