
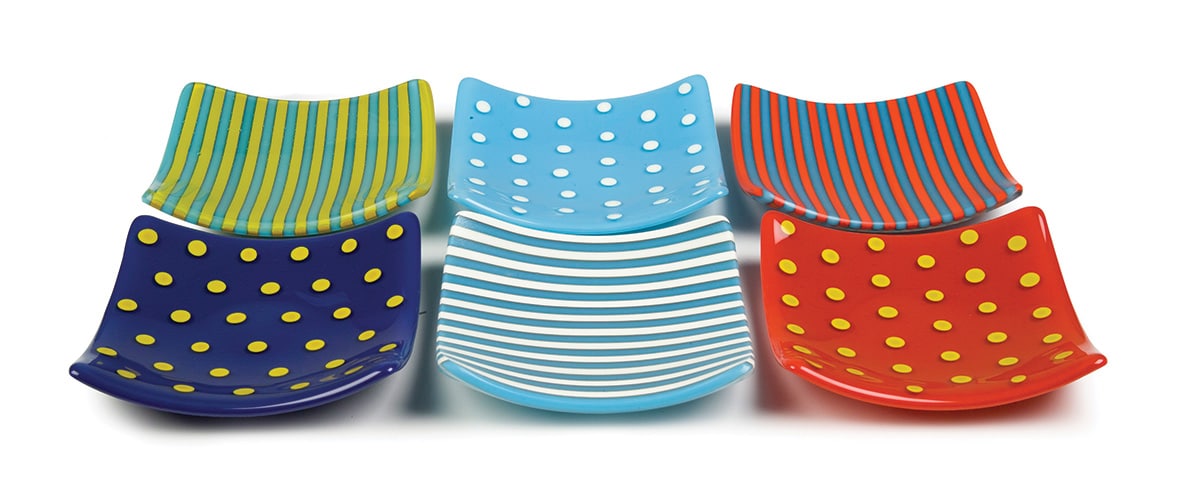
Rods are a natural choice for easy stripes and dots. We found this summer-themed nautical palette of opalescents fresh and irresistible for mixing and matching.
Stripes
Use a complete layer of rods as the base, then cap with 3 mm Clear and fire to a full fuse. The shelf side has a smooth, semi-matte finish, while the top has glossy goodness. Slump with either side up! (Coldworking may be necessary to smooth edges before slumping.)
Tips:
- Make a square frame from 1/16˝ fiber paper (7037) to ease set up and prevent rods from rolling.
- For variation in line width, place stringer in the low spot between rods. Stringers will stay perfectly straight through the fuse.
- To cut rods in bulk, secure a bundle with rubber bands and use a wet tile saw.
Dots
Nip rods into 3-5 mm sections—we used a Neo-GC Cutter (007162)—and arrange them on a sheet of 3 mm Clear. Place this on a base of 3 mm opalescent and fire to a full fuse.
Tips:
- Cut rod into a container with a towel draped over it to prevent bits of rod from flying.
- Position the attached pattern template under the sheet of Clear to guide dot placement.
- To maintain a square footprint and control volume, use shorter snippets closest to the perimeter.
Materials
Rod (Any fusible (or F grade) rod is suitable for kilnforming):
- Light Cyan (000216-0576)
- Golden Green (000227-0576)
- Tomato Red (000024-0576)
- French Vanilla (000137-0576)
Sheet:
- Light Cyan Opal (000216-0030)
- Indigo Opal (000148-0030)
- Tomato Red Opal (000024-0030)
- Clear (001101-0030)
Mold:
- Square Slumper Mold (008997)
